Showing posts with label non-embroidery. Show all posts

Tuesday, 13 July 2021

Made myself a tank top start to finish


Hi and welcome to a new project: a completely handmade tank top from yours truly for yours truly. 
I made it from a stretchy leftover fabric, forgotten in my fabric shelf for years (i am a HOARDER from hell) and my beloved hand carved linoleum bat block (used here).
I traced a cropped tank top for the pattern, cut the fabric out leaving 1 centimeter seam allowance only on the shoulder and the side seams and then lettuce hemmed the hell out of the edges. I wanna thank my sewing machine for the nerve she kept during this process. Here are some pics I took along the making of the top, starting from the lino printing and ending with me Kate Moss-ing the shit out of my creation.


Bat close-up
linoprinting for days
a seriously cute pattern tho
that's when the weights come in handy!
back and front ready to marry

''You better work! Cover girl! Work! Give a twirl! Do you thing on the runway''

Oh and I made a matching mask to go with it because i don't want to waste a single centimeter of this fabric i spent ages printing! And boom new profile pic over here


Enjoy!

Friday, 21 August 2020

Nightly Bat Patches

 Hello and welcome to a new patch(es)!


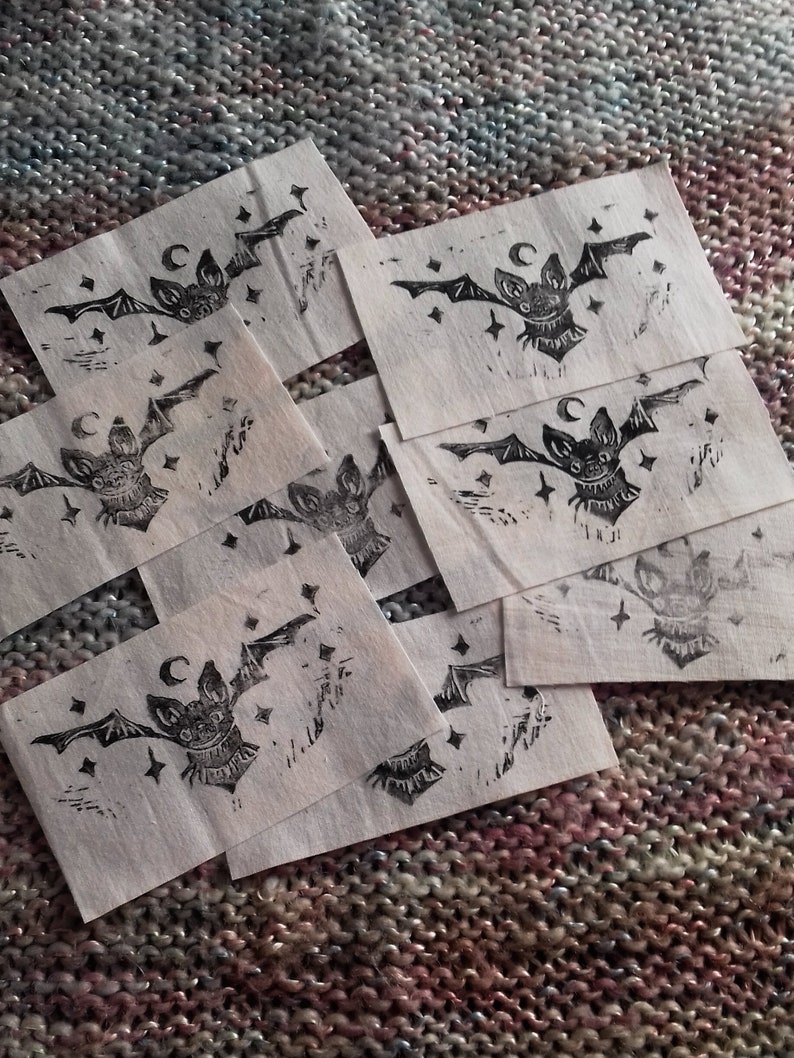
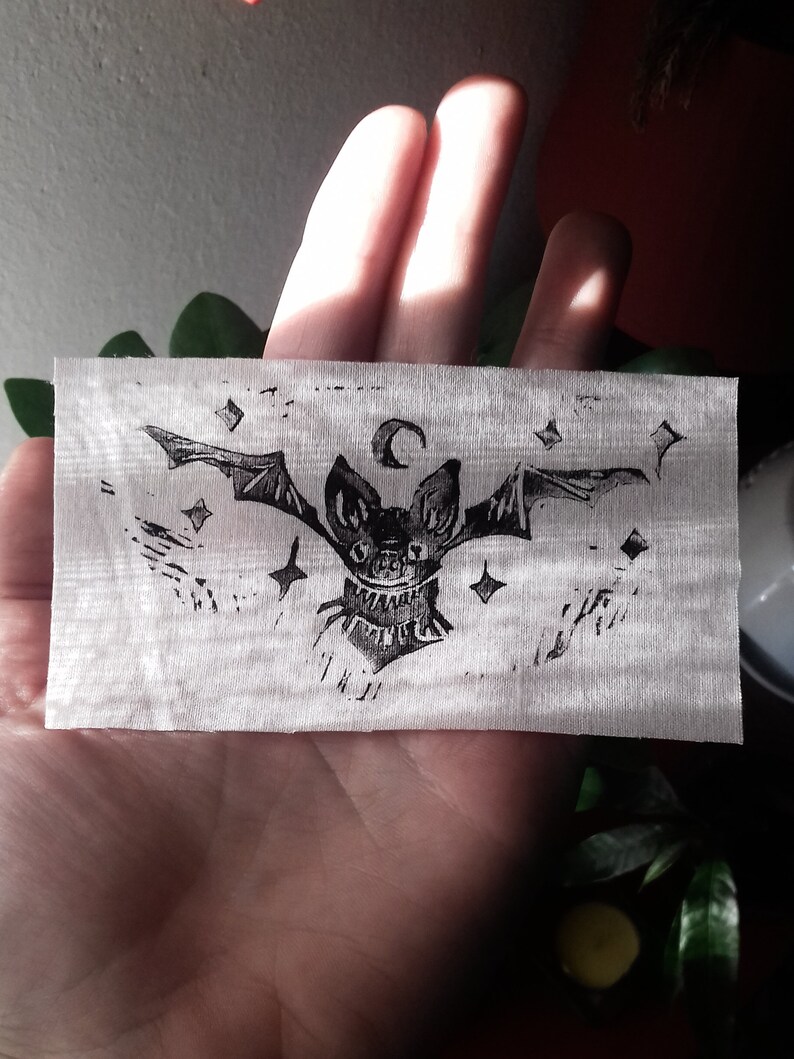
This little bat linocut block has been a staple in my creations lately. With this hand carved block i've printed several thank you notes to go with every order as well as decoration for my packaging. I think I'm developing more of an aesthetic sense lately, can't really explain it but whatever it is, this lil bat is part of it.
 
 
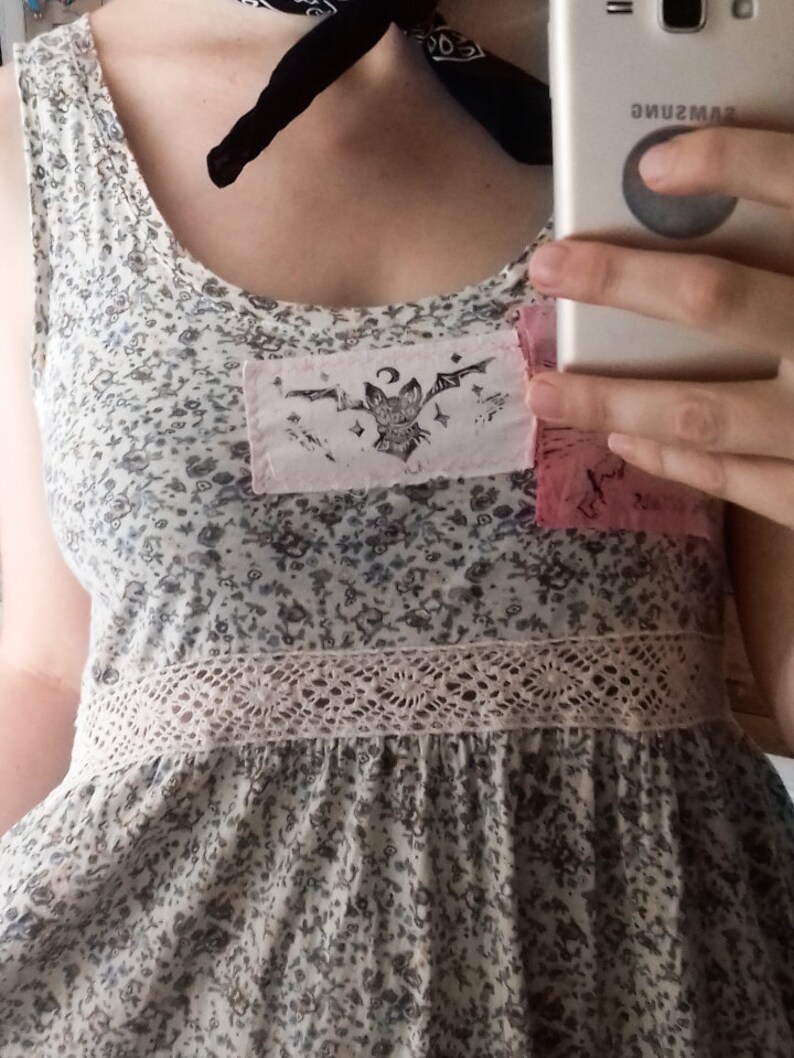
Back to the patches! They were printed on pale pink thin cotton with my linoprint kit from Essdee and black fabric ink. The print was heat set through the iron and is water resistant, of course it requires hand washing only! I kept some for me that I immediately sewn onto my summer dresses/shorts.


They look cool right? I'm thinking about using the bat as a repeating pattern on fabric and then sew something with it.... we'll see
In the meantime, enjoy!

Thursday, 16 April 2020

🌸 DIY face mask

Hi and welcome to a new tutorial!🌸🌸🌸

This time I'm sharing the mask pattern I've been using since I found this wonderful tutorial by CraftPassion. It's a fabric face mask that is very fitting and rather easy to make if you have any sewing experience. In her site you'll find the photo instructions and also a great and easy to follow video tutorial.🌸

The materials you're going to need are: tightly woven non-stretchy cotton fabric, scissors or a cutting mat and a rotary cutter, pins or sewing clips, round elastic cord (you can either use hair ties or shoelaces) and a sewing machine.🌸

1) Choose and iron the fabrics for the inner and outer shell: double the fabric and trace the pattern then cut it out. You will have a total of 4 pieces, two inner and two outer.

2) Sew both the couples along the longer curve with an allowance of half a centimeter. This seam will be on the front of the mask. Clip the edge with a small scissor being very careful not to snip the stich line.

3) Topstitching: open each shell right side up then sew very close to the previous stitchline you just made. To make it easier, pull the little clippings on one side.

Optional step) To create a mask with an inner pocket to insert a filter, take the inner piece wrong side up and fold half a centimeter inwards, pin and sew it down.

4) To assemble the mask join the two shells right sides together and pin (or clip) in place along the two longer sides. Sew with a straight stitch along the pinned sides.

5)Take a break from sewing and take the work to the ironing board. Fold the edge of the outer shell inwards two times, keeping in mind that this will be the casing for the elastic (or string), so take the measurements according to the size of your elastic.

6) Sew the casing closed with a stitch as close as possible to the inner side. If you're making the pocket version you'll end up with an opening right on the side of your last stitchline.

7) Slide the elastics (or the shoelace) through the casings, knotting the ends.

This shoe string option gives less tension to your ears than the elastic one, so try out the option that feels more comfortable to you and your loved ones.🌸

<3

Friday, 9 February 2018

Drawing tiny tiny stars...

Drawing new business cards to toss into envelopes with every order. I wanted to update the castle design but apparently I can't really break the habit!


Drawing all the sparkles looks like a very tedious job but it's relaxing and great during telephone calls or boring tv shows. Did I mention that silence is so very unbearable to me? Always need some kind of background talking or music but I digress!
Need to do some test prints of these few designs and then decide which one will be the staple for 2018.

Thursday, 2 November 2017

Dreamy Bookmarks! ☾☆✧

http://etsy.me/2zaBsOy
☾☆✧Hello there!✧☆☽

When in autumn, when it's starting to get colder outside, what's better than cuddle under a big blanket with a good book, a sip of tea and the scent of your favourite candle?

I grabbed my watercolors and glitter glue and made this adorable set of four bookmarks with all my favourite imaginary scenery: pink and blue sky with silver moons and... cats!

✧☆☽Check them out!☾☆✧


 Enjoy!☾☆✧

Made myself a tank top start to finish

  Hi and welcome to a new project: a completely handmade tank top from yours truly for yours truly.  I made it from a stretchy leftover fabr...